Arduino – How Exactly Does It Work?

In 2019, an article titled ‘Smart Education Expo Showcases Innovative Classroom Solutions’ highlighted the Webduino as an easy alternative to the popular Arduino hardware programming system. And while it’s true that Webduino is the simpler option, particularly for students of a certain age, we’ve seen Arduino become even more popular in the time since that article was written.
Today, Arduino is a go-to hardware/software hybrid for tech enthusiasts who want to experiment, test their own creativity, and learn new skills. MakeUseOf’s list of reasons for trying Arduino expanded on what exactly draws people to the product, noting that it makes it easy to learn new skills, it’s a fun hobby to pick up, and it ultimately leads to the creation of some pretty cool stuff (which we’ll touch on more below).
But how does Arduino actually work? If you’re considering purchasing one for yourself, or you have a project in mind, we recommend some true education. Read step-by-step guides to the programming aspects of Arduino, watch tutorials of others using it to create their own projects, and so on. But if you’re merely curious about the general processes and functions of Arduino, read on for a basic explainer.
Choosing an Arduino
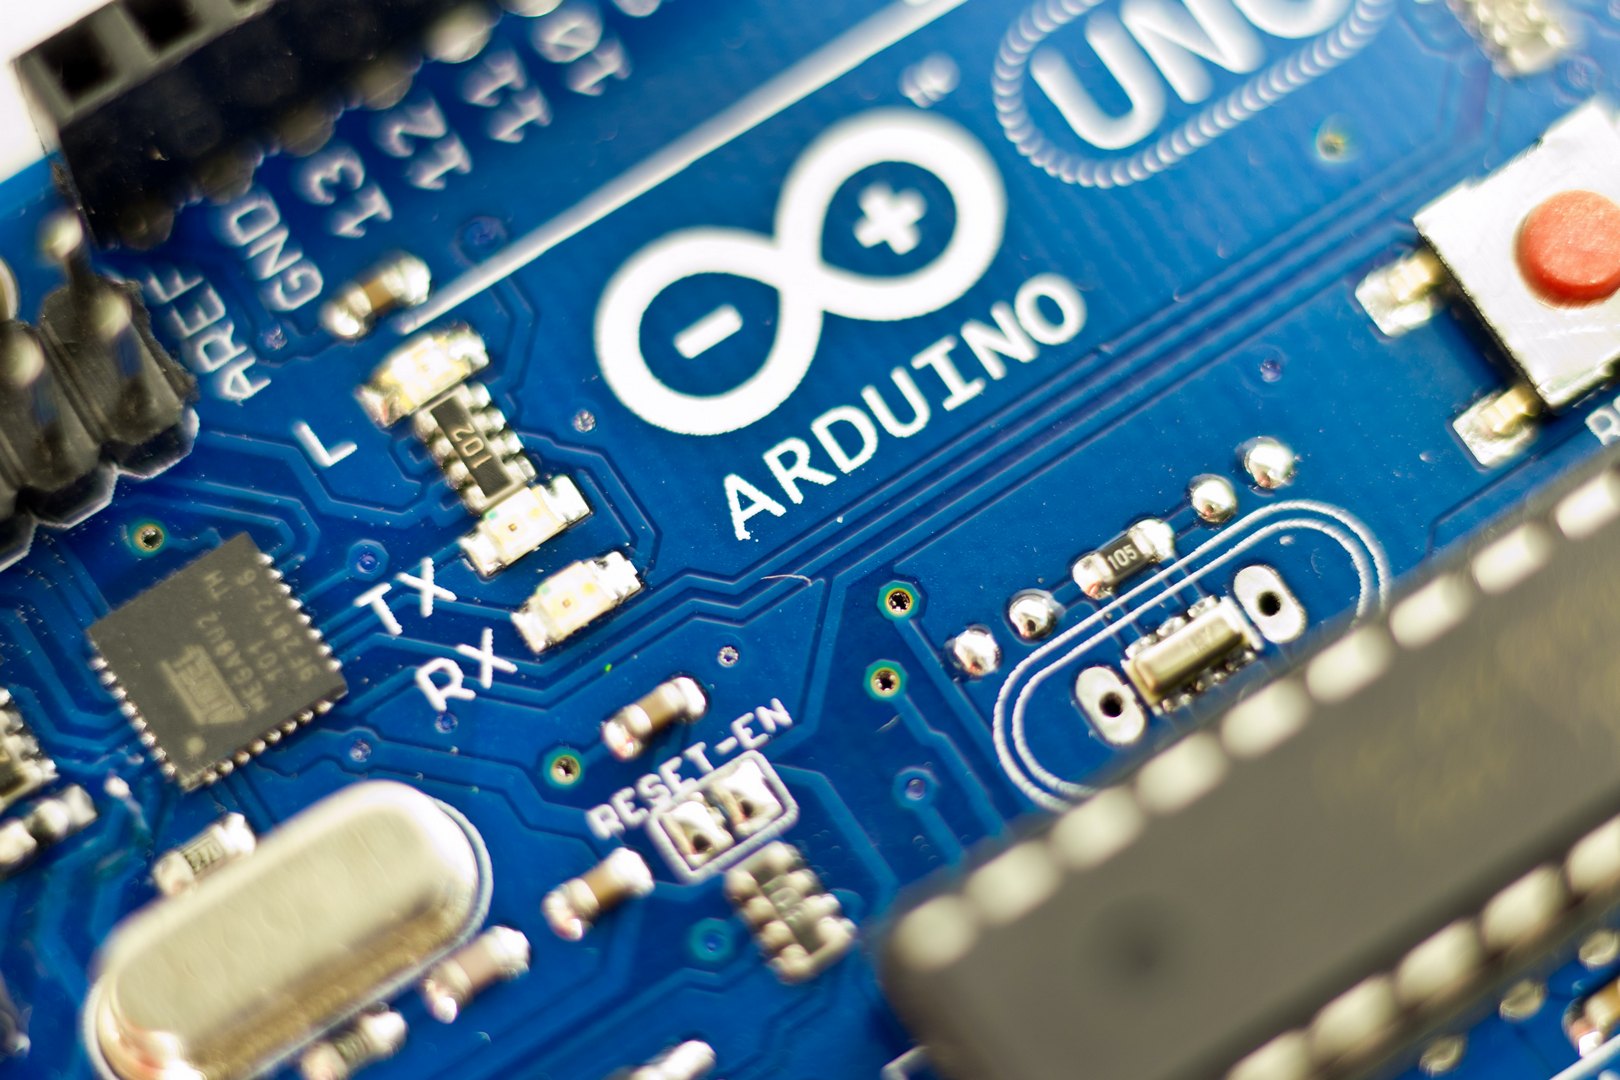
The first thing to understand is that Arduino is not a single product so much as a class of them. It is true that any Arduino will have similar components: a physical board with a microcontroller on it (basically a tiny computer), accompanying software, and some connecting components. However, there are still numerous types of Arduinos. The Arduino Uno is the most popular, and a very capable option. But various alternatives exist, and are differentiated essentially by how powerful they are, how many inputs and outputs they support, and in some cases whether they’re compatible with specific devices (such as the Arduino Mega ADK, which is made largely to work with Android phones).
In addition to picking out a given Arduino to purchase, you have the option of modifying it to suit your purposes. A write-up on Arduino schematics by Altium refers to this as “designing your own Arduino variant,” and outlines a process for taking an Arduino design and essentially turning it into a larger or more complex printed circuit board. This is typically only necessary for more involved projects, and so is unlikely to be relevant to a beginner. But if you stick with Arduino design as a hobby, it’s good to know that the boards can be enhanced.
Installing IDE
Once you’ve picked out an Arduino, your next step is to install Arduino IDE, which stands for Arduino Integrated Development Environment. This is basically the software-based system on which you’ll do your programming for the Arduino project you ultimately work on. It’s considered a system suitable for beginners and easy to learn on, though if you’d like a foundation to work off of, it’s helpful to know that the Arduino IDE uses what is essentially a version of C/C++ as its programming language. So, if you want to be thorough about it, reading up on C and C++ can serve as a nice bit of preparation as well.
Connection & Setup
Once you have Arduino hardware in hand and the Arduino IDE on your computer or device, it’s time to connect and set up the hardware. Connecting literally refers to plugging your Arduino into your device, which is done via USB (the Arduino will have a connector). As for setup, you’ll simply have to go into the settings on your Arduino IDE software and basically let it know what type of Arduino board you’re connecting it to. This links the software to the hardware, and gets you situated for programming.
Ready to Code
With your equipment in hand, modified if needed, and all hooked up, it’s time to start programming! Again, here is where you’ll want to dig into some education and guidance, particularly if you’re a beginner. You may also need to make some adjustments to the hardware (such as adding various components) depending on what it is you’re trying to program. But at this point, you’ll be all set up to make it work.
As for what you end up making, there is basically a world of options! But we found a list on Popular Mechanics to be filled with some great inspiration for beginners. Projects like a stopwatch, a dice-like number generator between 1 and 6, or even a mechanical Twitter machine are all achievable for Arduino newcomers — and all speak to why people have so much fun with this technology.


