Smartphone Photography Manual Mode Cheat Sheet: featuring Huawei P10 Plus
Have you ever wondered what it means by manual or semi-manual photography? As most of the smartphone nowadays comes with Manual mode supported, many users are still left dumbfounded by all the technical terms displayed on the screen.
In this article, I will provide you with a really simple crash course on how to get familiar with manual mode photography on your smartphone.
Getting Started – Enable Manual Mode
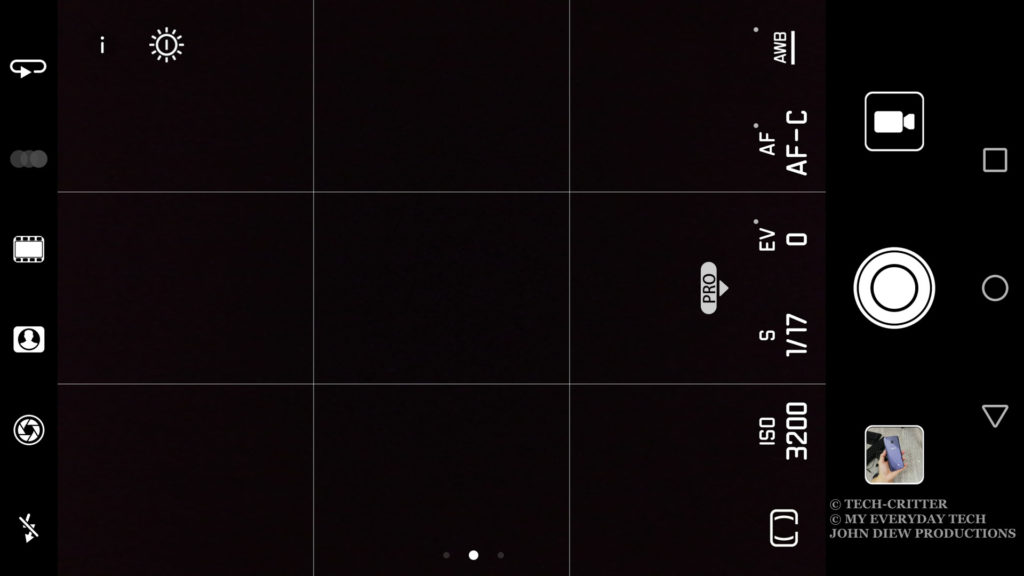
Most of the smartphones nowadays have manual mode built into their camera app. Different camera apps have different naming to it, some call it Manual Mode and some call it Pro Mode.
The Basics – Exposure Triangle
The Exposure Triangle is all about the combination of:
- Aperture
- ISO
- Shutter Speed
Allow me to explain one by one.
Aperture
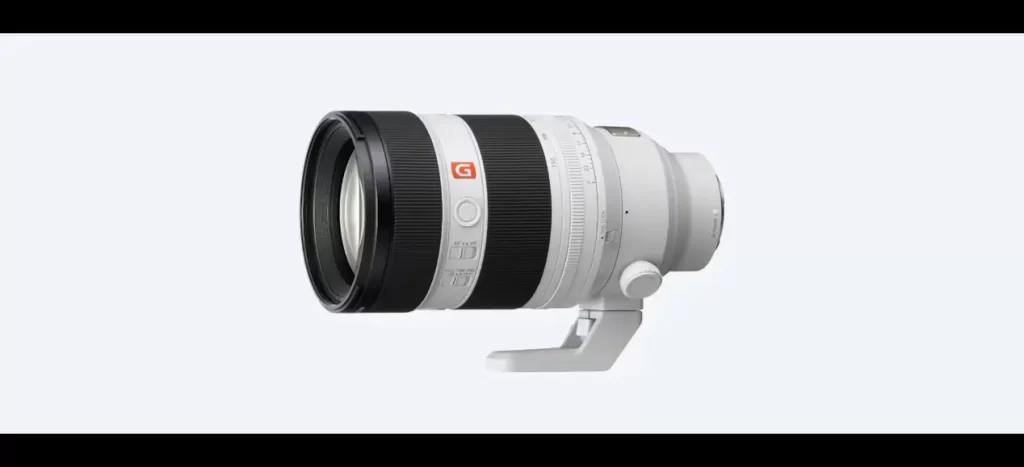
20-MP Monochrome + 12-MP RGB sensor with Leica SUMMILUX-H f/1.8 lens
Pretty sure you have come across the above specification where it mentioned the lens has the aperture value of f/1.8, f/2.2 or any other values. So what is Aperture?
- Aperture value means the size of the lens opening which allows light to pass through and reach the sensor.
- A smaller value means larger aperture opening, hence more light reach the sensor; A higher value means smaller aperture opening, hence less light reaches the sensor.
- Large aperture opening creates an image with a large separation between the front subject and background. Blurred background, or we call it Bokeh.
- For example:
- f/1.8 aperture allows more light to pass through compared to f/2.4 aperture.
- f/1.8 aperture photo background is more blur than f/2.4 aperture.
Since smartphone lenses have no moving parts, hence the aperture itself is fixed. Thanks to the dual camera technology, we can now simulate the depth of field effect using the software. For example, the Huawei P10 Plus camera comes with Leica Dual Camera 2.0 with a large f/1.8 aperture lens which allows you to capture more light.
ISO
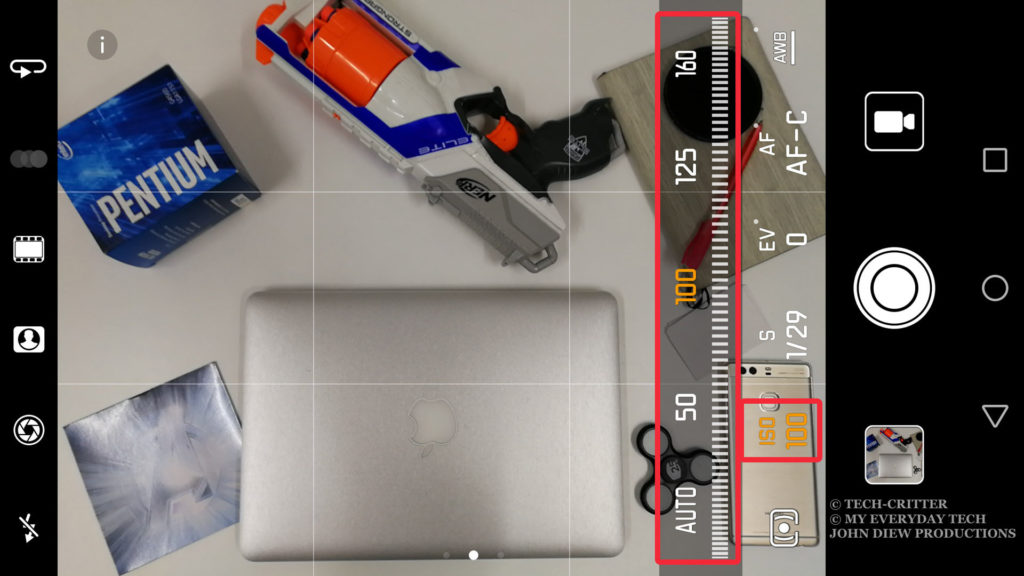
The ISO value represents the light sensitivity of the camera sensor.
- Lower ISO value means the sensor is less sensitive to light; Higher ISO value means the sensor is more sensitive to light.
- Increasing ISO value allows capturing a brighter photo in low light situation.
- The disadvantage of high ISO is that the photo can be grainy and “noisy”.
- For example:
- ISO 100 is less sensitive to light, but the produced photo is cleaner and less noise.
- Meanwhile, ISO 3200 is more sensitive to light, but the produced photo is grainy and more noise.
Shutter Speed
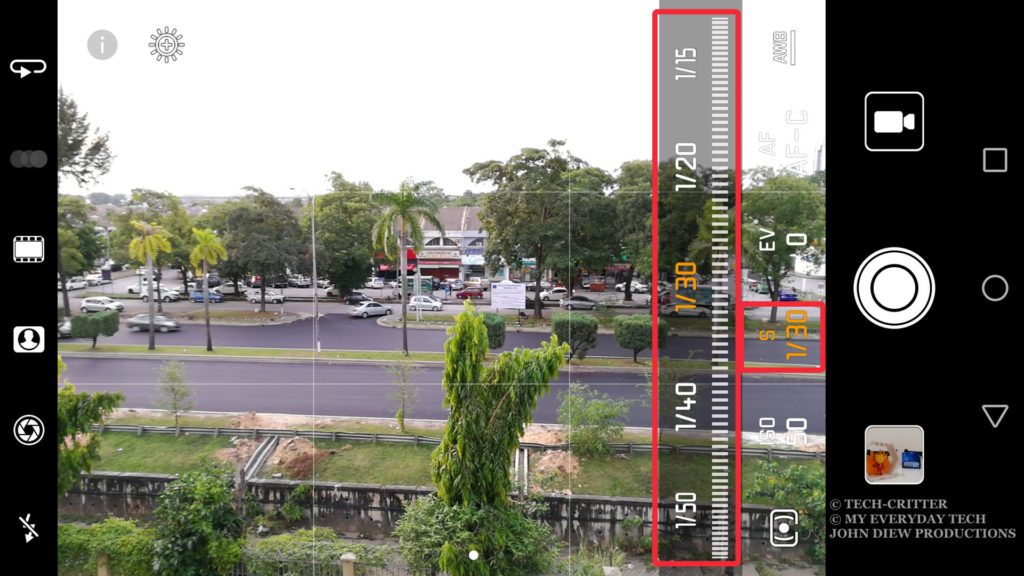
The shutter speed determines the amount of time that the sensor is exposed to light. Let’s take this example, you open the water tap and fill the first cup for 1 second and second cup for 5 seconds. Obviously, the second cup would have more water. The same theory applies to the shutter speed and light.
- Slower shutter speed allows the sensor to capture more light; Faster shutter speed allows the sensor to capture less light.
- Slow shutter speed may cause blur photos; Fast shutter speed can capture fast action without motion blur.
- For example:
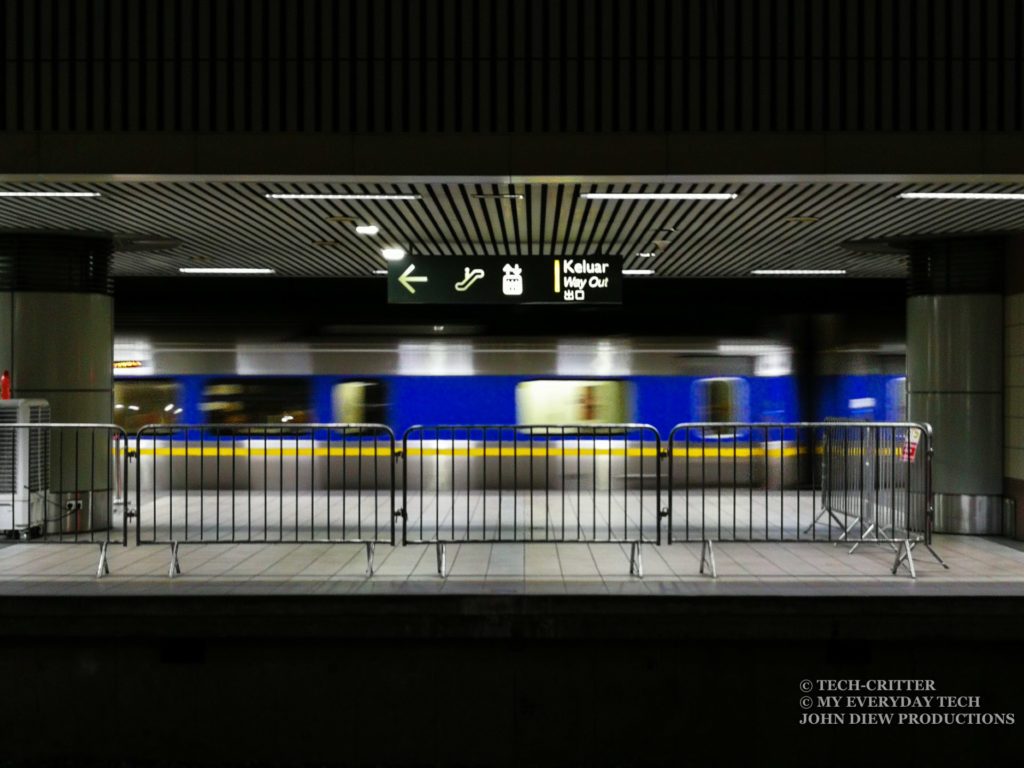
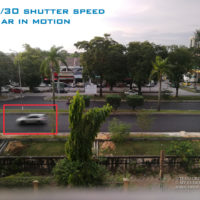
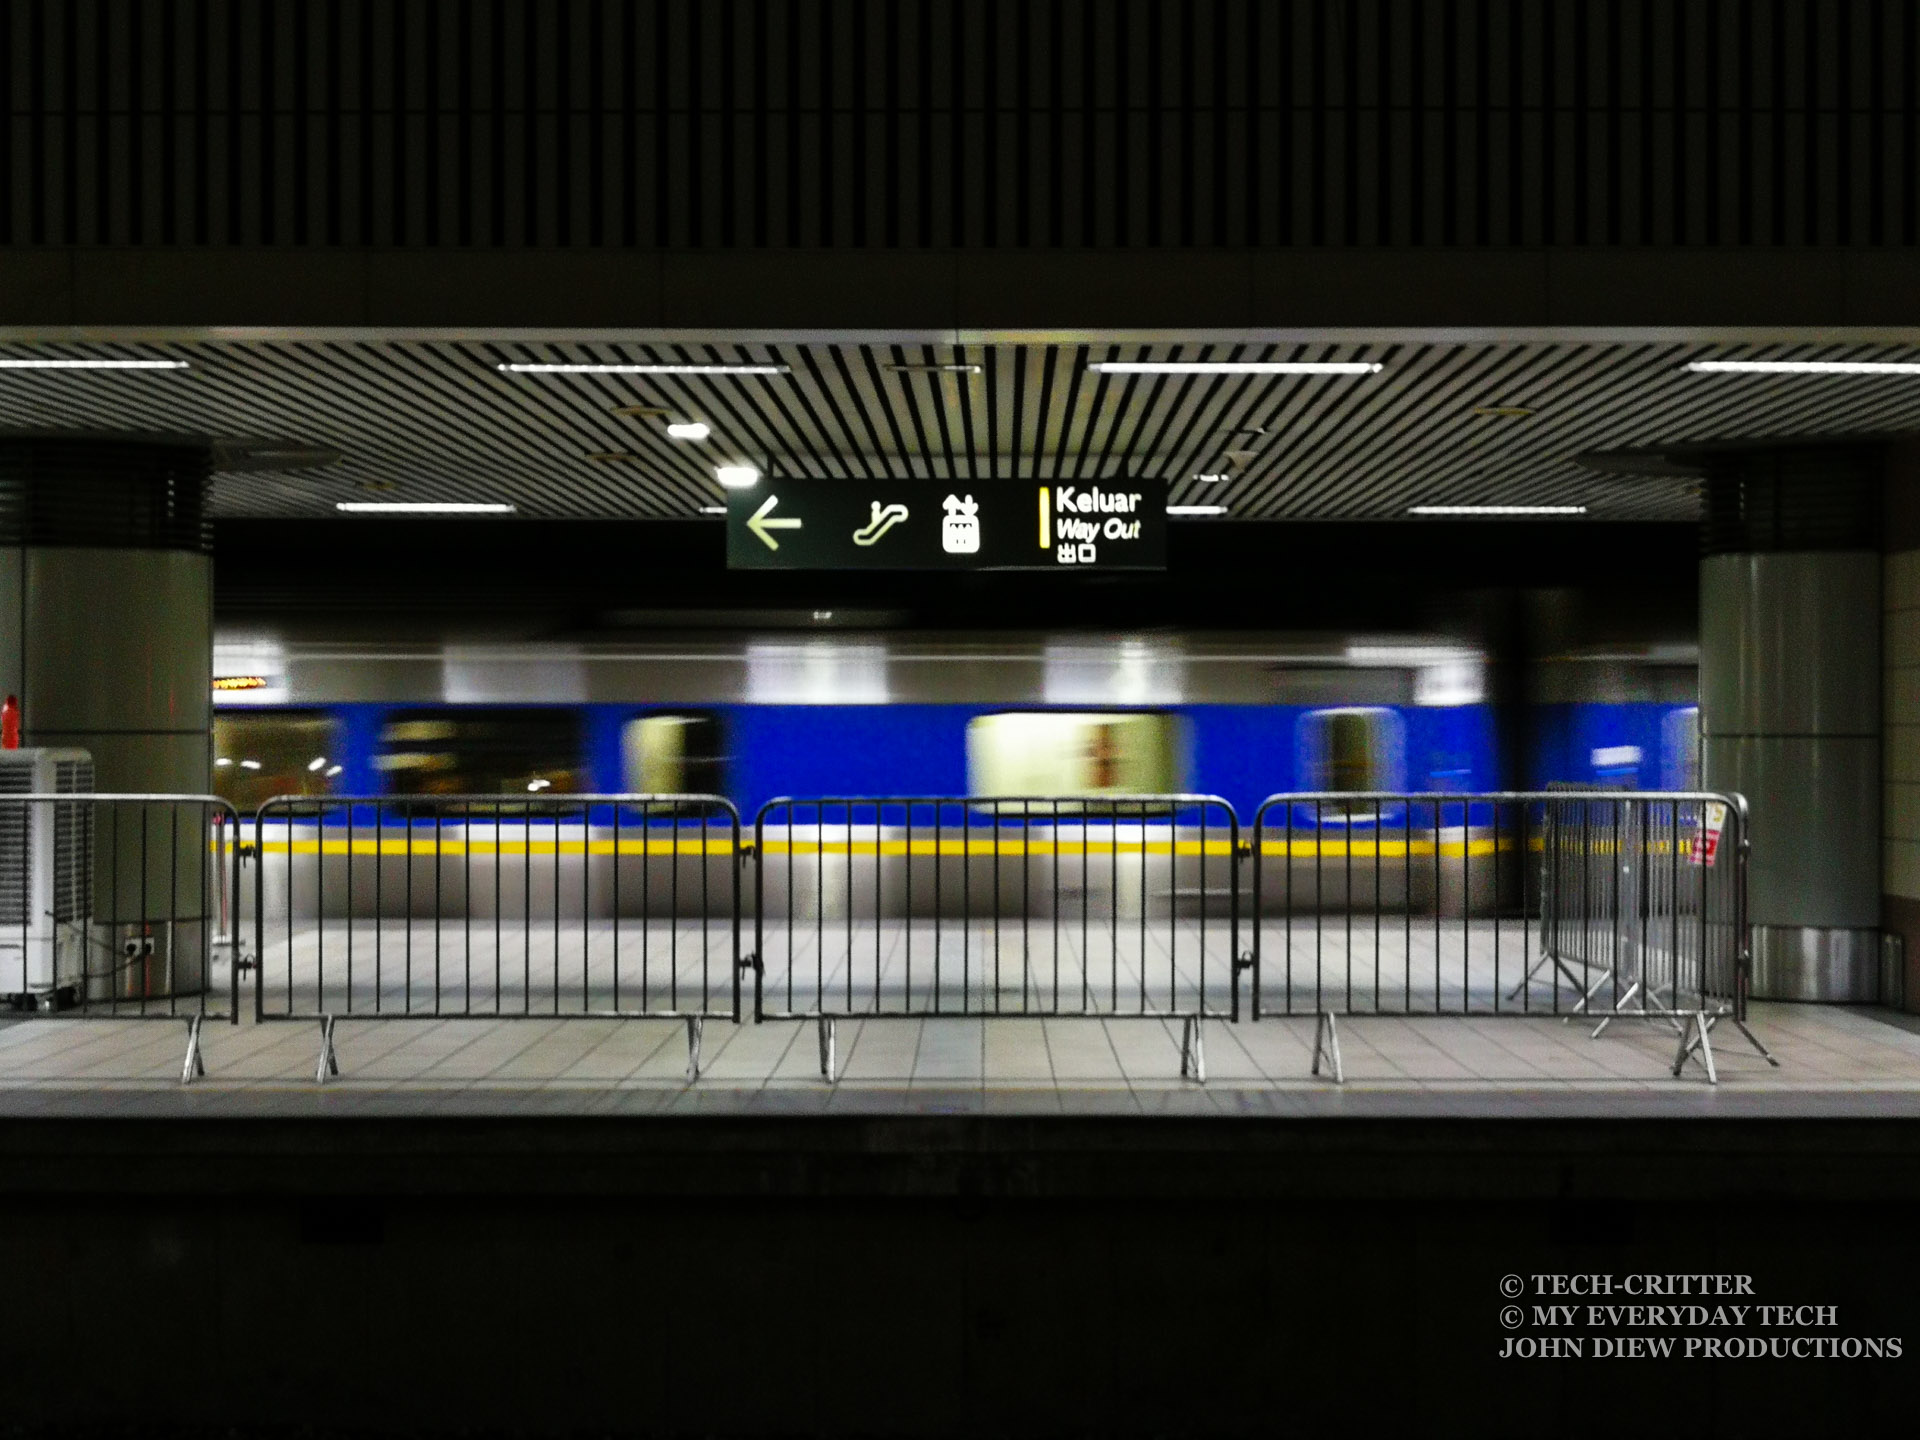
- Shutter speed of 1/8 seconds produces a balanced brightness photo of a dimly lit indoor scenario. However, the photo is blurry due to subject’s movement or shaky hands.
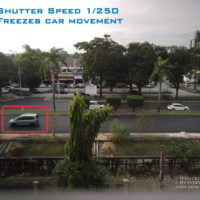
- Shutter speed of 1/250 seconds or higher can freeze motion. However, you might need to turn up the ISO as the photo can be very dark depending on the lighting situation.
Final Words: Mastering The Exposure Triangle
Now you have learned the basics of the exposure triangle. To recap, let’s have an sample scenario where you want to photograph a beautiful scenery in front of you. After pressing the shutter button, then you noticed the image is too dark. Given that the aperture is fixed on the smartphone camera’s lens, you either have to decrease the shutter speed or increase the ISO in order to increase the brightness of the photo.
If you decrease the shutter speed but found out the photo is now blurry, then you have to adjust back the shutter speed and increase the ISO instead. In this way, you will find the balance between the Aperture, Shutter speed and ISO. Therefore they are called the Exposure Triangle.

