Wearable App Development That Will Truly Elevate the User Experience to the New Heights

Unsure how to create an Android wear app? Welcome to the best resource online!
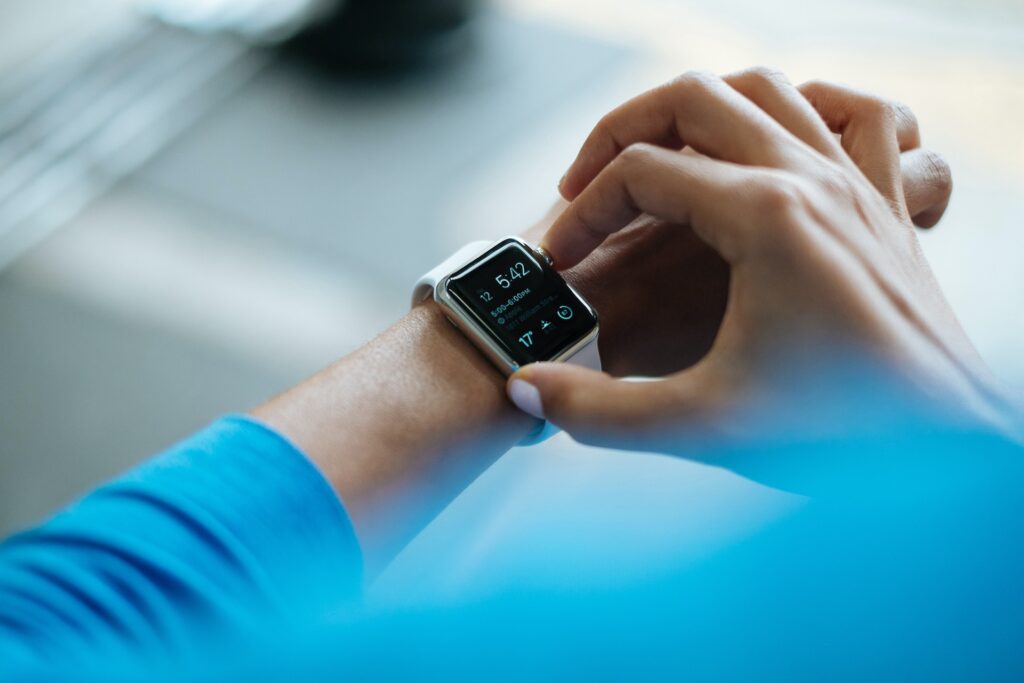
Wearable applications operate directly on a wristwatch. The major difference between wearable apps and other applications using the Android Software Development Kit (SDK) is their functionality and design. Wearable applications feature simpler layouts with more reliant functionalities.
Thanks to the rapidly growing wearable app market, now is a fantastic time to begin your wearable app development process (based on time-proven Topflight Apps experience)! And this entry will help you get started on the best foot – let’s dive right in!
How to Create an Android Wear App: Step-by-Step Guide
Step 1: What is Your Use Case?
What do you want? Identifying your use case means knowing how your wearable app will be used, including its benefits to both you and your users.
Defining your use case cuts across conducting in-depth market research to understand the current trends; personas study to understand your ideal user and their pain points; competitor research to know what your competitor has done and how far, etc.
Having the right use case is a primary prerequisite to developing the right business plan for your wearable app to storm the market!
Step 2: Choose Your Features
Having determined your use case, choose the features that will help you achieve such a use case. Whether you’re learning how to create an Android wear app or to build an Apple watch app, identifying your features early will help simplify the entire wearable app development process. It can be useful for you to realize what needs to be prioritized and what doesn’t.
Of course, these features can be improved upon even after launch. But you still need to step into the market with your best foot to ensure good market traction. Remember, the first impression lasts longer than you can ever imagine.
Common features implemented in most top wearable applications include:
- Sensors
- Location awareness.
- Motion sensing.
- Video/audio streaming.
- In-app purchases
- Notifications, etc.
Step 3: Design a UI/UX
To create a wearable app, you need a blueprint. And this is what the user interface and user experience design creates for you – what your app will look like. However, when designing, you must understand that the UI/UX of wearable apps and mobile designs are entirely different.
Since wearable devices are smaller than mobile devices, it’s typical for the former to have fewer controls and smaller space for UI elements. At the same time, the UI elements mustn’t be too small; otherwise, users may find it hard to navigate your applications. Factors like this (and more) are what you must consider when designing your app’s UI/UX.
Step 4: Choose a Type of Wearable App
There are different ways to create a Wear OS app. The most significant question is, “How do you want to create yours?” Operation logic, functionality, and independence from a mobile device are factors that differentiate these different approaches.
The common approaches used during wearable app development are standalone apps and companion apps.
Standalone app, as the name suggests, is fully independent from mobile devices. They run on any wearable device and connect directly to the internet through Wi-Fi.
Companion app is dependent on mobile devices. They have accompanying mobile apps that constantly exchange data with them. Companion apps usually have limited functionality.
Step 5: Develop Your Minimum Viable Product
A minimum viable product lets you know how valuable your app is to your target audience. It also allows you to know the areas to improve to ensure a streamlined user experience. With this prototype, you can see what the final product will look like, the functionalities, etc. Confirm if it matches your original idea and proposed use case.
Step 6: You Can Now Build Your Wear App!
Finally, you can start your app development process. This stage typically includes three factors: the front-end, back-end, and Application Programming Interface (API). The front end is what the final user sees on their phone and is powered by the back end.
The back end is the brain of your app. It contains two aspects that support your app’s overall functionality: the server side and the database.
The Application Programming Interface (API) is the intermediary between the back-end server and the wearable app on your phone.
Step 7: Test Before You Launch
You need to be sure everything is in place and follows your blueprint. And this is why the testing stage is very important. In this stage, a quality assurance team confirms the functionality, security, scalability, usability, and reliability of your wearable application.
Testing is commonly divided into five major stages:
- Functional testing.
- Localization testing.
- Usability testing.
- Security testing.
- Load and performance testing.
Step 8: It’s Time to Launch
Did your wearable app pass all these testing stages? Then it is good to go! You can launch the app on Apple App Store, Google Play Store, or both.
Conclusion on How to Create a Watchos App
Wearable applications can either be a standalone tool or a brilliant addition to your existing mobile app. Either way, you can be sure that it will help improve your service offerings as a company and could be a source of extra revenue via in-app purchases.
Still not clear on how to create an Android wear app? Please, reach out to our expert developers; they’ll be glad to help.


